OK …. while I’m not about to turn this blog into a DIY extravaganza site, I did do something this afternoon that I thought I’d share. I reupholstered my boring computer chair into something altogether more beautiful … alright it’s still an office chair but it’s a more beautiful office chair… and I found it such an easy and straightforward task that I’m presenting* it here to inspire your creative juices.
Firstly, the original … as you can see functional but rather dull.

Next I found some material from a local fabric shop that took my fancy.

Then I assembled the tools required. The tools I used were a staple gun, a screwdriver and some scissors (oh and there was some spanner action a little later to remove the seat cushion from it’s base but I didn’t realise that until after I’d taken a picture of the tools I thought I needed 😉 if I were a real DIY blogger I would have rectified this)

I decided to tackle the back support cushion first. I undid the backrest support to release the back support cushion and undid the small screws that held the plastic cover over the rear of the cushion.

I decided to keep the original fabric for additional cushioning and also because;
- there was nothing wrong with it; and
- I was feeling too slack to undo all the staples and remove it.
Next, cut a piece of the fabric to size and began stapling it to the cushion.
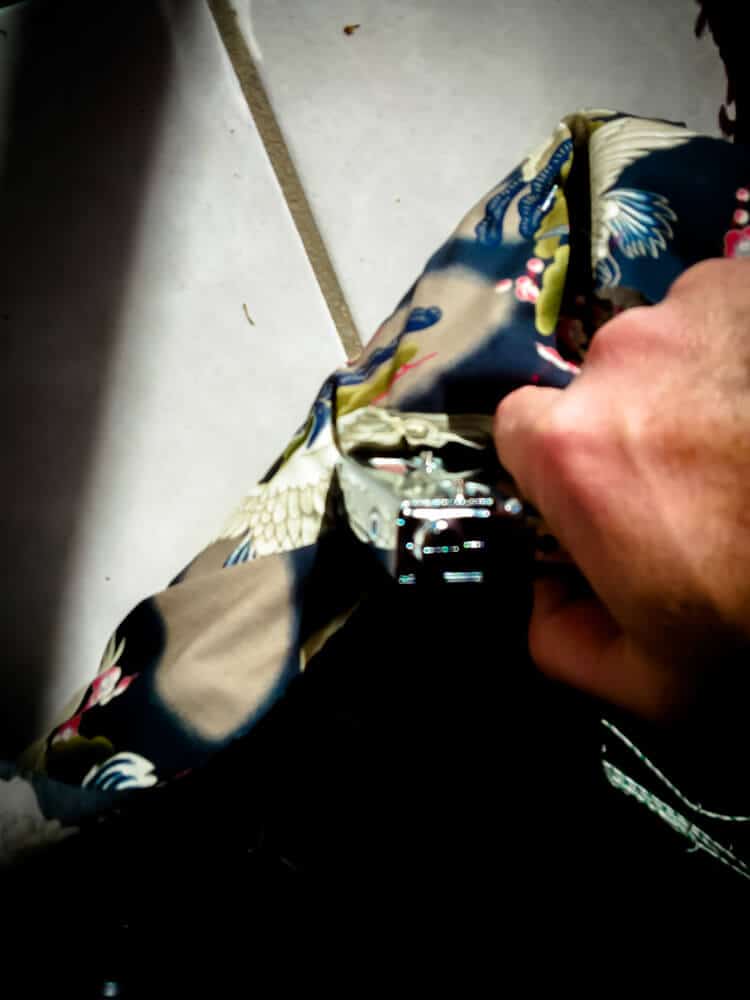
When finished stapling it looked like this
It was a little sharper than this in real life*
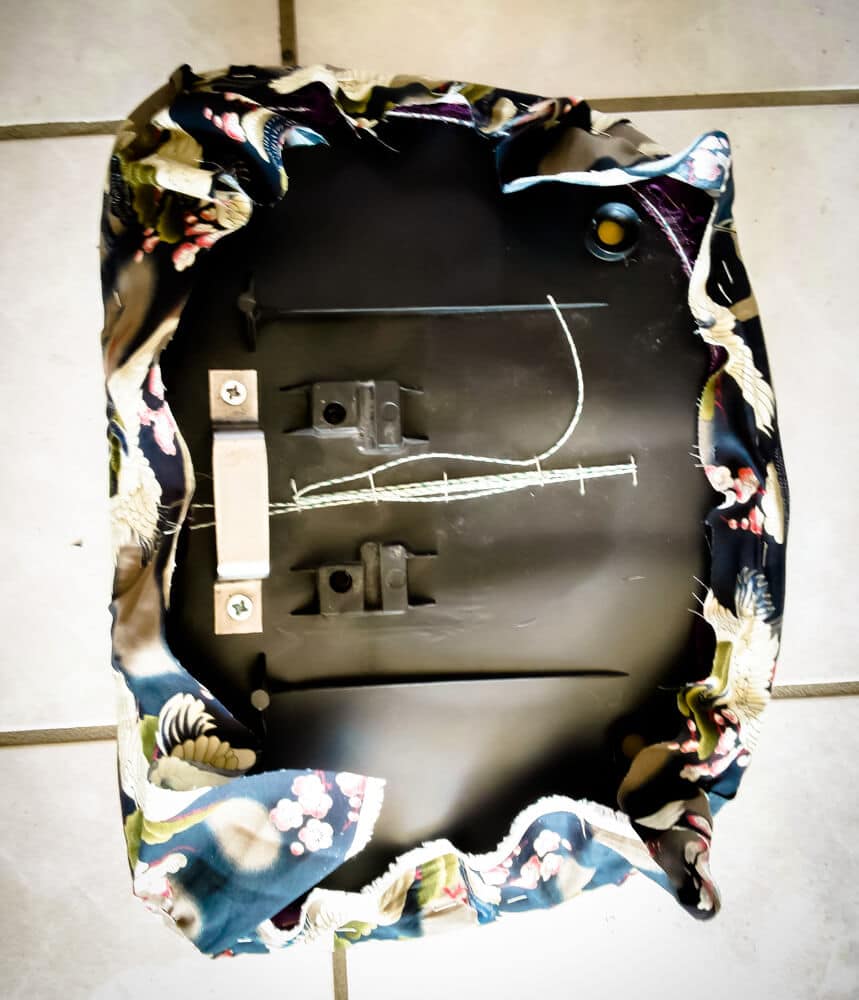
Then it was time to remove and tackle the seat cushion. This required the use of the afore-mentioned spanner I neglected to include in my tools photograph above…

Then, same process:
- Measure and cut a piece of fabric to fit the cushion with enough extra to reach up and over the base for stapling.
- If your fabric has a pattern that has a definite ‘right way up’, it’s a good idea to check this before cutting the fabric!
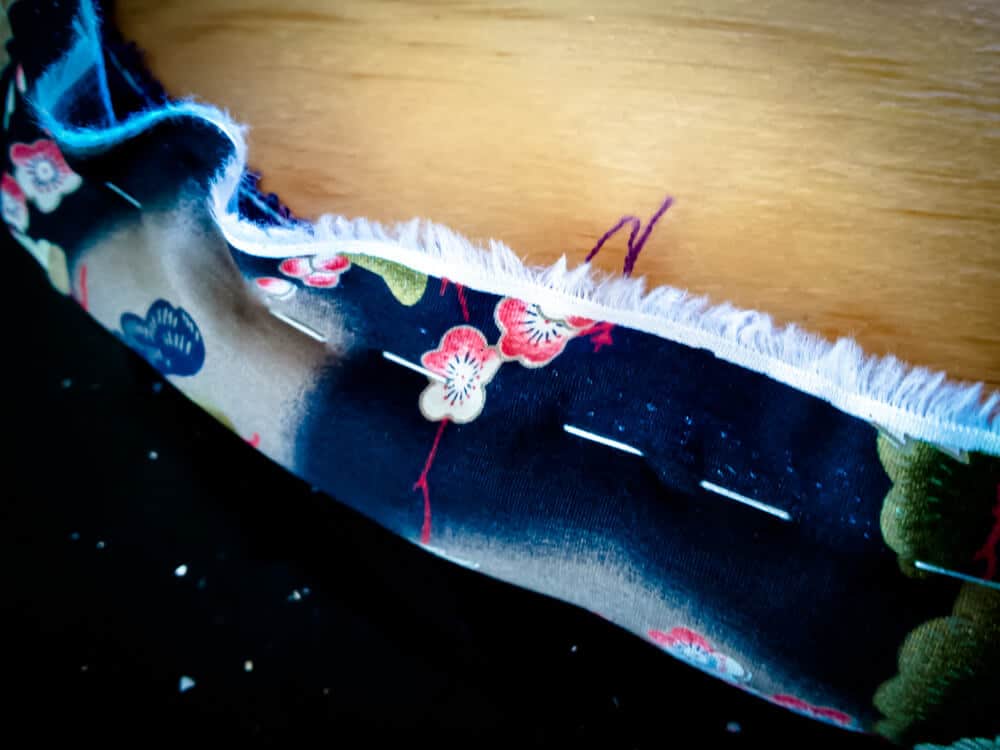
- Pulling reasonably tightly, but not tightly enough to cause creasing in the fabric, begin stapling the fabric to the cushion base. I started along one edge and worked my way around.
- I found folding the fabric at the corners before stapling worked well.
My stapling was lot neater on the seat cushion…
The finished seat cushion.
Replace the plastic casings for the cushions and reattach them to the chair.
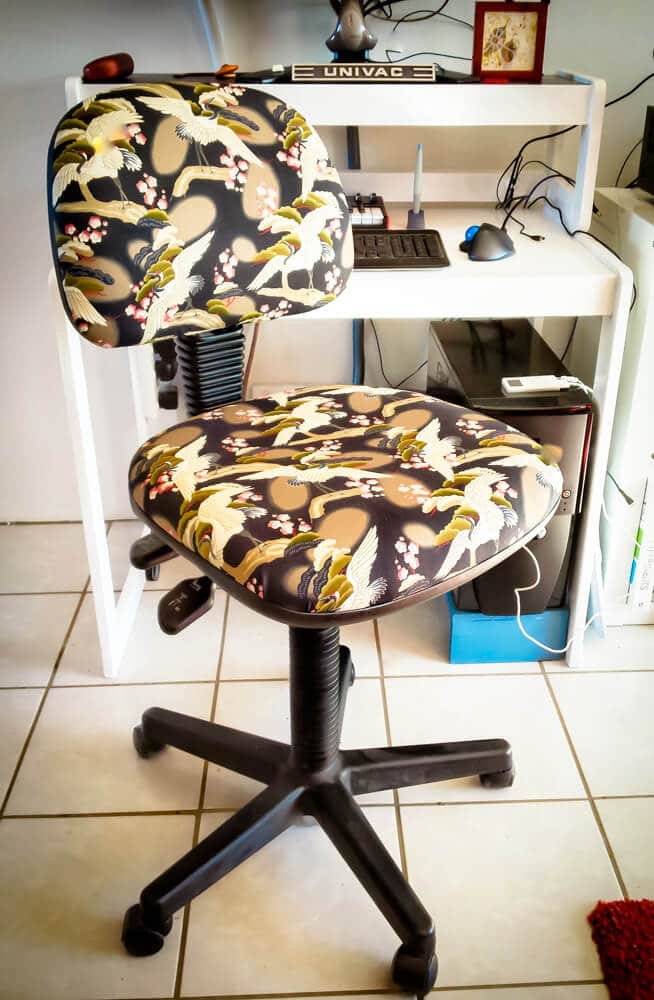
Voila! A reupholstered office chair.
The whole exercise took me less than an hour and $15 in materials … cheaper than replacing the chair and it fits wonderfully with my decor.
Have you revamped a piece of furniture? Got pictures? I’d love to see them 🙂
*with apologies for the crappy smartphoneography…
ps … I feel I should also note that the print I chose features a pattern of cranes in various poses and not the camouflage print the thumbnail makes it out to be 😉
Is there any end to your talents?
Love it – and I had picked up that it features cranes.
Oh yes … there are plenty … I’m a rubbish dancer for one Sue 😉