On the Inside Looking Out
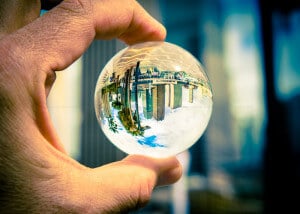
I've written before about those special moments when a picture reveals itself right before your eyes. Some days when you're ready to take a photograph ... to capture something special a scene can prove elusive ... there are, I believe, times when it's almost as though you have to be 'open' to a photograph's materialisation. By that I refer to perhaps a process or state of mind whereby you as the photographer are open to the image that present itself to you. It's like realising there is an image waiting in front of you or even anticipating an image's appearance ... this one represents one of those moments
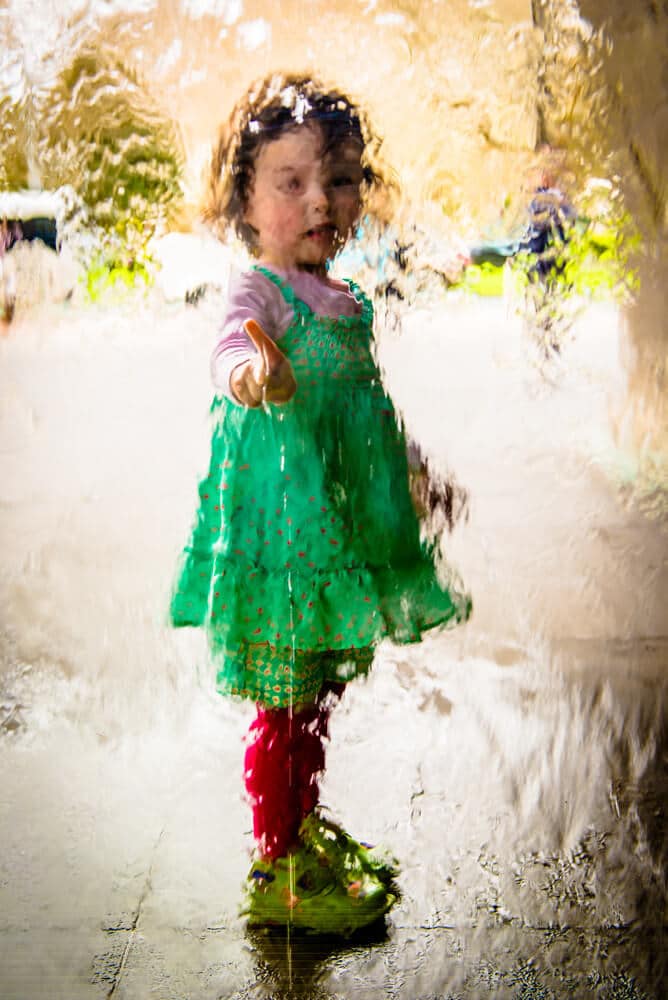
Back story: A recent trip to Melbourne, Marina and I had just been to visit the Masterpieces from the Hermitage: The Legacy of Catherine the Great exhibition at the National Gallery of Victoria. Marina had wandered outside and I went to retrieve my camera bag from the cloakroom. As I walked across the foyer of the gallery toward the exit I noticed this young girl outside touching the glass of the water wall with her finger. I quickly reached into my camera bag, grabbed the camera and took a few pictures (before her father came and dragged her away from an anticipated episode of soaking). This one was my favourite... on the inside looking out.
The exhibition at the NGV is spectacular btw ... should you find yourself in Melbourne ;-)
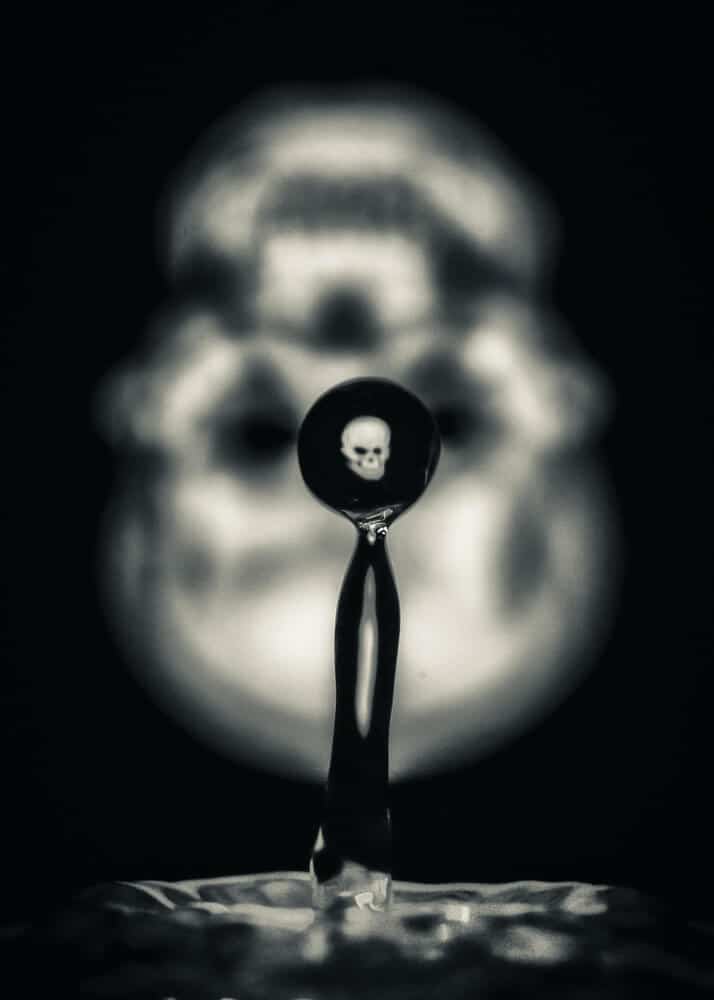
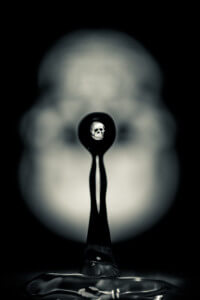
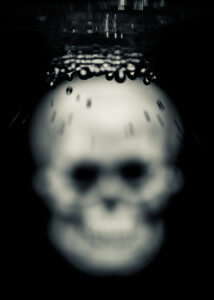
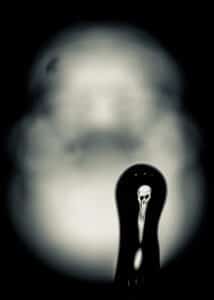
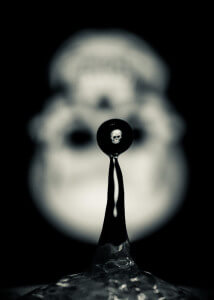
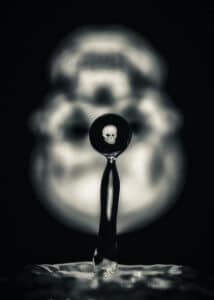
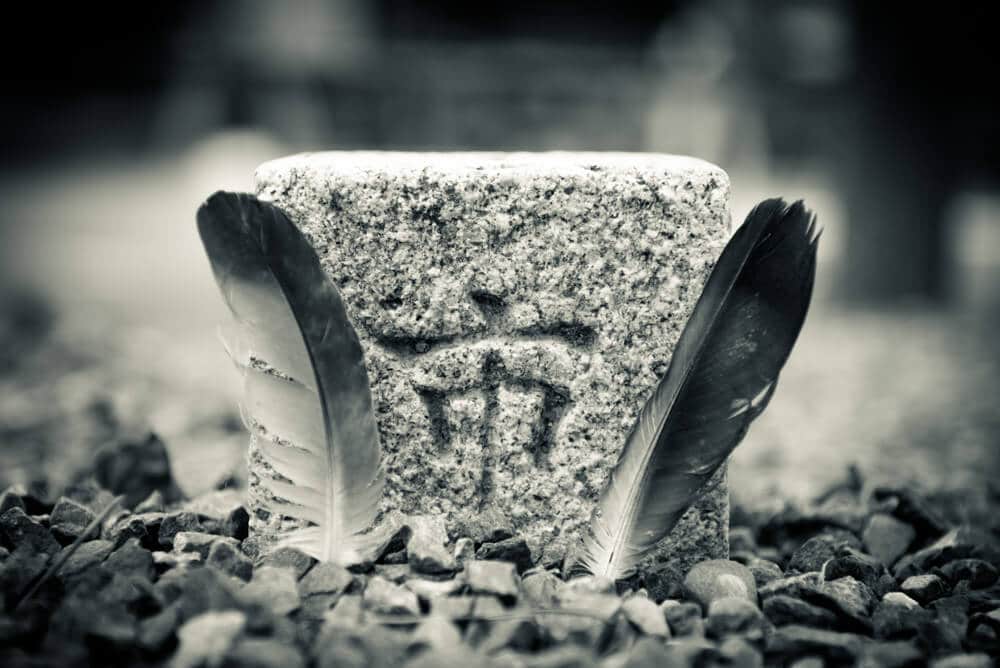
Barriers: Skull with water drops - Series One
He's back on the drops again! This time in experimentation for a show coming up in November with my artistic collaborator Marina Talevksi. The show is to be called Barriers: break or break through and features a skull or representations of a skull or many skulls or many representations of the same skull ... we haven't quite decided yet ;-)
Barriers will be our second formal exhibition together after 2 Tens & A Tomato in 2014. Suffice to say that the show features skulls and in preparation for this I experimented on the weekend with some waterdrop refraction images featuring a skull... trying to get an image of a skull to refract in a water drop. It was tricky but I'm rather pleased with these initial results. You can check out my other forays into drop refraction photography in my WaterPlay gallery :-)

Projected
I have, for many years, wanted to play with a photographic technique called 'Projector Photography'. This is essentially where a light source (in may case a digital projector) is used to throw patterns or other images upon a subject and the results captured in the camera as a photograph. I know it's all been done before and this technique has been around since the very beginning of photography but I'm thinking the important thing here is that it hasn't been done by me yet ;-) and to further this minor notion of inflated self-importance I recently obtained a digital projector (a little XGA Epson) and began to make some experiments ... the first of which I'm happy to present here.


For the technically minded: For the pattern I created a vertical line image in Photoshop using the pattern editor and transferred it to my laptop connected to the projector. I was running the image through Lightroom in fullscreen mode. This enabled me to play with the image size (and hence the width of the stripes) and also apply a hard vignette to make the projected images smaller and circular. The images was captured using a Nikon D600 with an 85mm f/1.4 @ f8 and ISO 640. At these settings the exposure time was around 1/6sec and so I had to remain quite still ... excepting the frame where I took advantage of the slow shutter and deliberately moved my head from side to side. These setting also showed that I have plenty of light to play with using increased ISO settings on the camera.
All in all a successful first experiment I thought ... can't wait to put my favourite model in front of it :-)
I have many ideas for patterns or images to project ... spiderwebs, water, fire ... I'd interested in any ideas you may have for the technique.
Oh Japan 2 - Kyoto
Kyoto ... a two hour journey from Tokyo on the Shinkansen (bullet train) was beautiful. Less hectic than Tokyo and steeped in history, The original Imperial capital. However, I'm presenting today one of my favourite pictures from the trip.
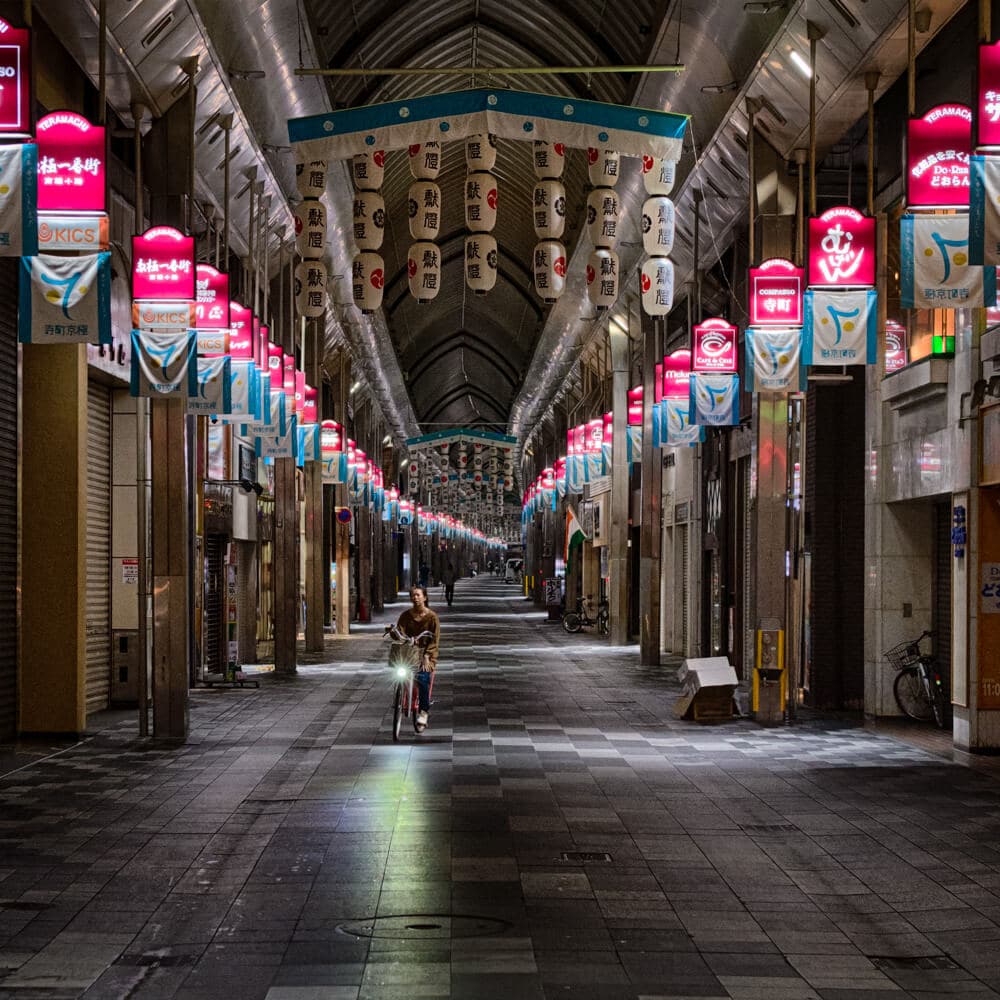
We arrived in Kyoto early in the evening and after settling into our hotel and taking advantage of the traditional Japanese hot bathing facilities at the hotel we ventured out for some dinner in the old town. Walking back toward our hotel after unsuccessfully trying to find some nightlife ... the place we were recommended was closed(!) ... we came across these cavernous markets the Nishiki Market (錦市場, Nishiki Ichiba). They stretch across five blocks and at midnight when we came across them they were largely deserted. We could then only imagine what they must look like during daylight trading hours ... which we did upon visiting them the very next day :-)

This place was huge and we walked the length of this particular covered street.
During the day we sampled local foods in the Nishiki food market ... like the picture above but packed with food shops. I sampled this delicious grilled octopus on a stick ... the head had been stuffed with a quail egg and it was utterly delicious ... would you try one?


Published :-)
In other news one of my photographs, part of a series I did for local poet P.S. Cottier for her little poetry collection Paths Into Inner Canberra, has been published in The Canberra Times newspaper and syndicated to The Age online site ( the newspaper sites are syndicated so they appear kinda the same ;-) )
Links
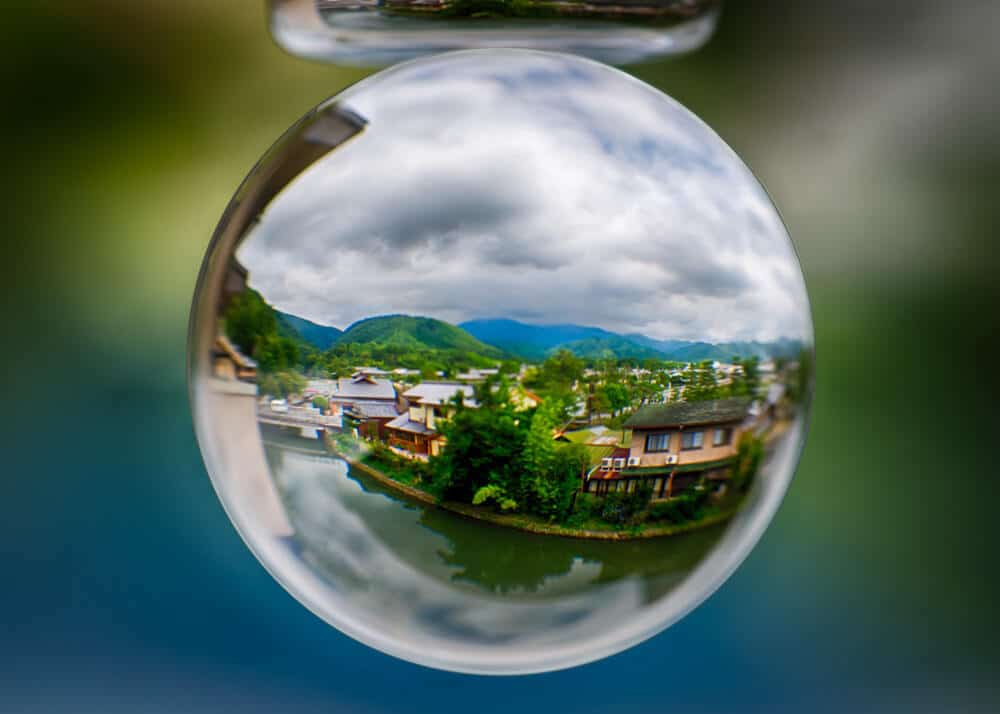
Oh Japan
Oh Japan indeed! In the first week of July I took a spontaneous trip to Japan. When I say spontaneous I mean that it was less than 24 hours from deciding 'hey, let's go to Japan!', booking tickets and driving to Sydney at 2am to catch the flight! It was a blur but oh so rewarding. For reasons unbeknownst to me I have waited nearly four weeks to share this and some of the images from the trip.
We flew from Sydney into Narita, Tokyo and spent the first 3 nights in different districts of Tokyo - Asakusa, Ginza and Shinjuku before taking the bullet train to Kyoto and spending time in and around Arashiyama and the city of Kyoto. I have long had a fascination with Japan, the culture, food and design all have special places in my heart. Also the idea of being immersed in a place that is so foreign to my own. Oh and I love neon lights and the cities did not disappoint ;-)
I took loads of pictures, some of which are presented below and some which will be posted in future posts. Those of you with whom I communicate regularly will know I have been in somewhat of a creative doldrums of late ... personally I blame winter(!) but there are deeper reasons than things seasonal. I'm bringing you some pictures today from in and around Arashiyama, a smallish city northeast of Kytoto.
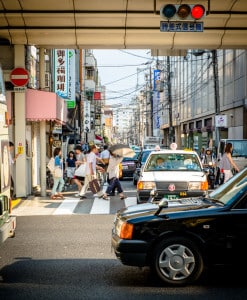
This first picture was taken at Arashiyama Station at sunset as we arrived back from a day in Kyoto.

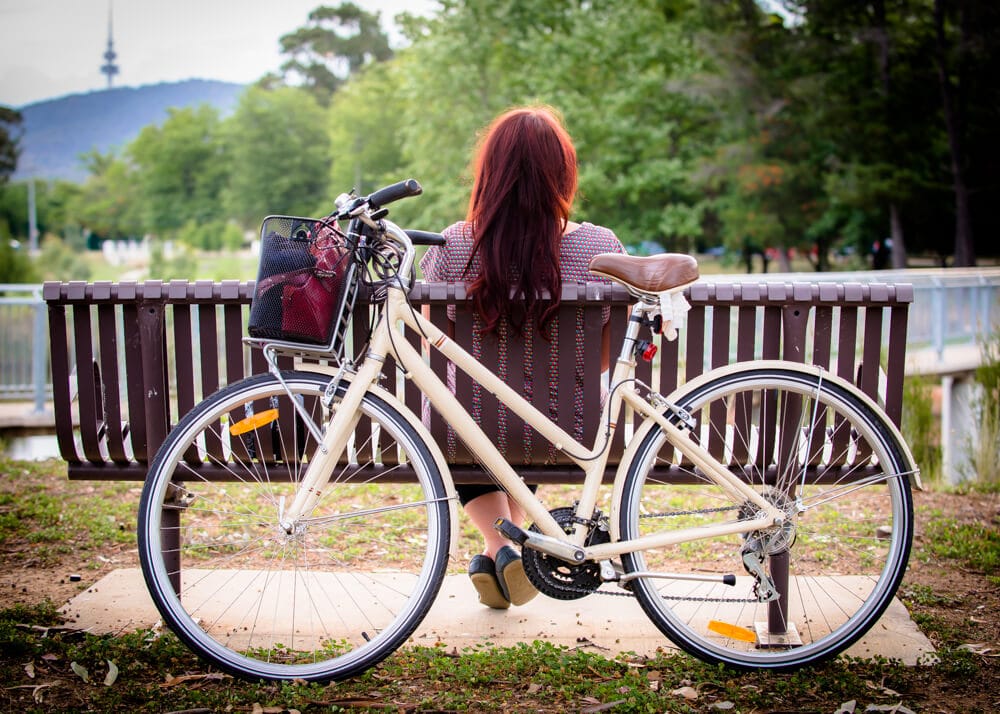
This next picture was the view from the balcony of the traditional Japanese-style place we stayed in in Arashiyama ... sunsets eh? The place was amazing and we had shared some very special moments here.
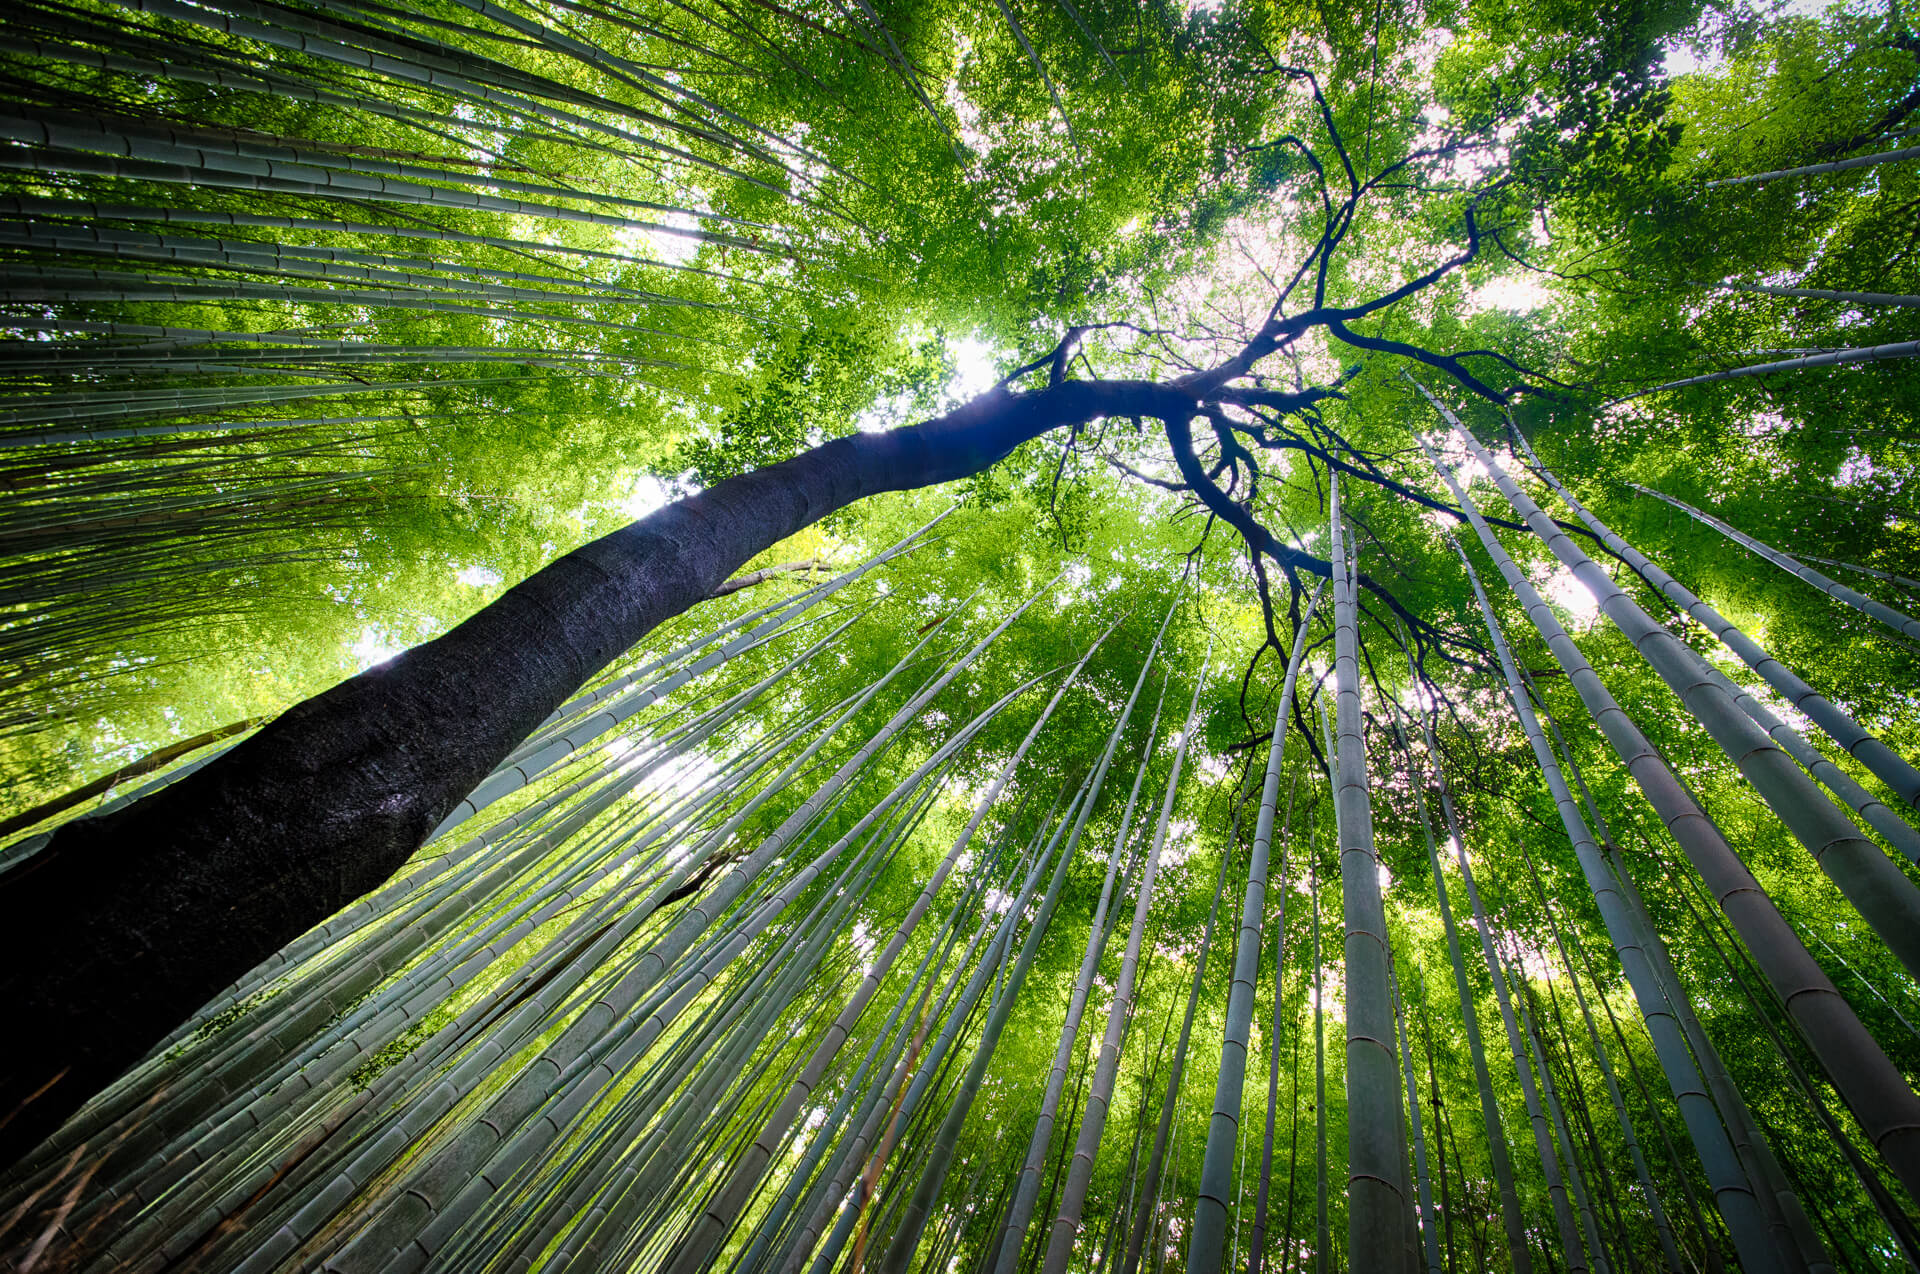
Arashiyama is famous for, amongst many other things, it's giant bamboo groves. This place, like so many others in Japan was bristling with people but there weren't so many in the frame when you turned your gaze upwards ;-)

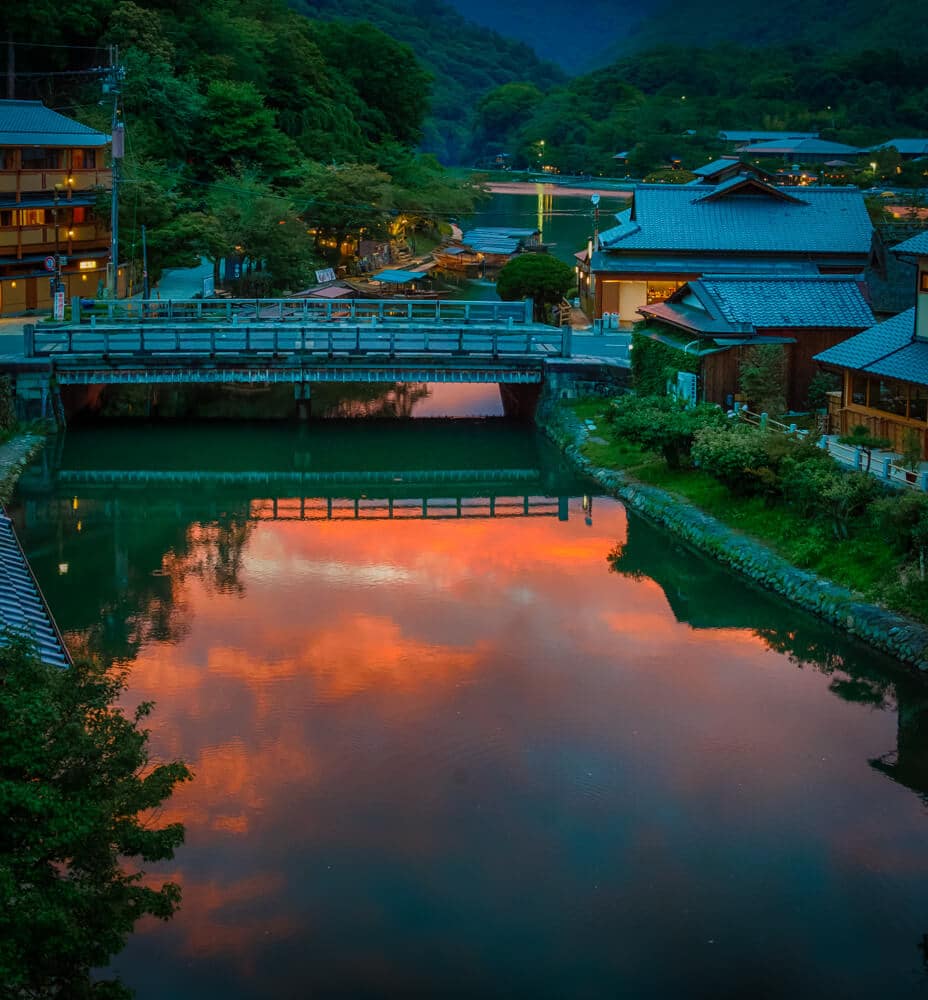
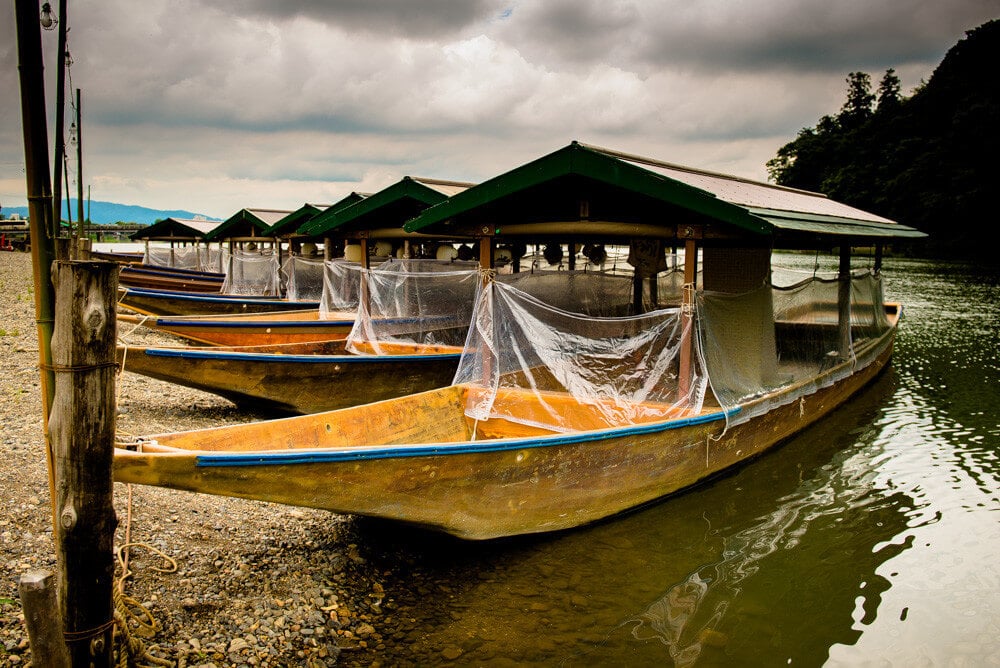
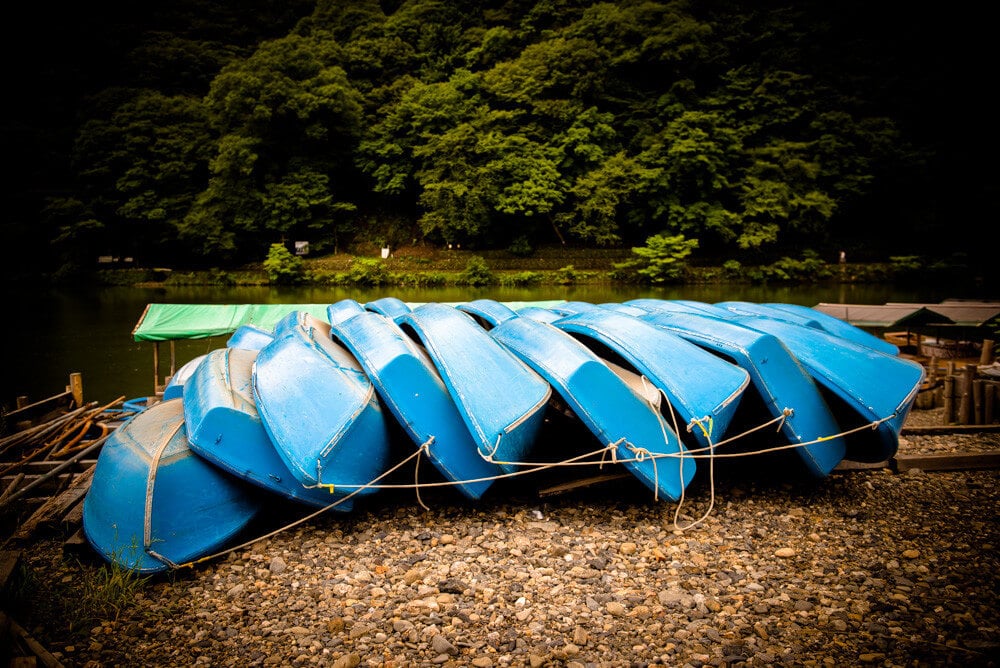
There's a river (the Hozu-gawa River) that's simply beautiful with long boats used for cormorant fishing and of course ferrying visitors around.
Anyways I hope you've enjoyed this little photo tour of this part of Japan... I'm currently working out how I can get back there :-)
I'll be posting more pictures over the next little while (now that I appear to have released myself from my writer's block!) so please stay tuned :-)
Have you been to this part of the world? Did you like it? Have you never been but always wanted to go? Do tell me in the comments below :-)

Reupholster your office chair
OK .... while I'm not about to turn this blog into a DIY extravaganza site, I did do something this afternoon that I thought I'd share. I reupholstered my boring computer chair into something altogether more beautiful ... alright it's still an office chair but it's a more beautiful office chair... and I found it such an easy and straightforward task that I'm presenting* it here to inspire your creative juices.
Firstly, the original ... as you can see functional but rather dull.

Next I found some material from a local fabric shop that took my fancy.

Then I assembled the tools required. The tools I used were a staple gun, a screwdriver and some scissors (oh and there was some spanner action a little later to remove the seat cushion from it's base but I didn't realise that until after I'd taken a picture of the tools I thought I needed ;-) if I were a real DIY blogger I would have rectified this)

I decided to tackle the back support cushion first. I undid the backrest support to release the back support cushion and undid the small screws that held the plastic cover over the rear of the cushion.

I decided to keep the original fabric for additional cushioning and also because;
- there was nothing wrong with it; and
- I was feeling too slack to undo all the staples and remove it.
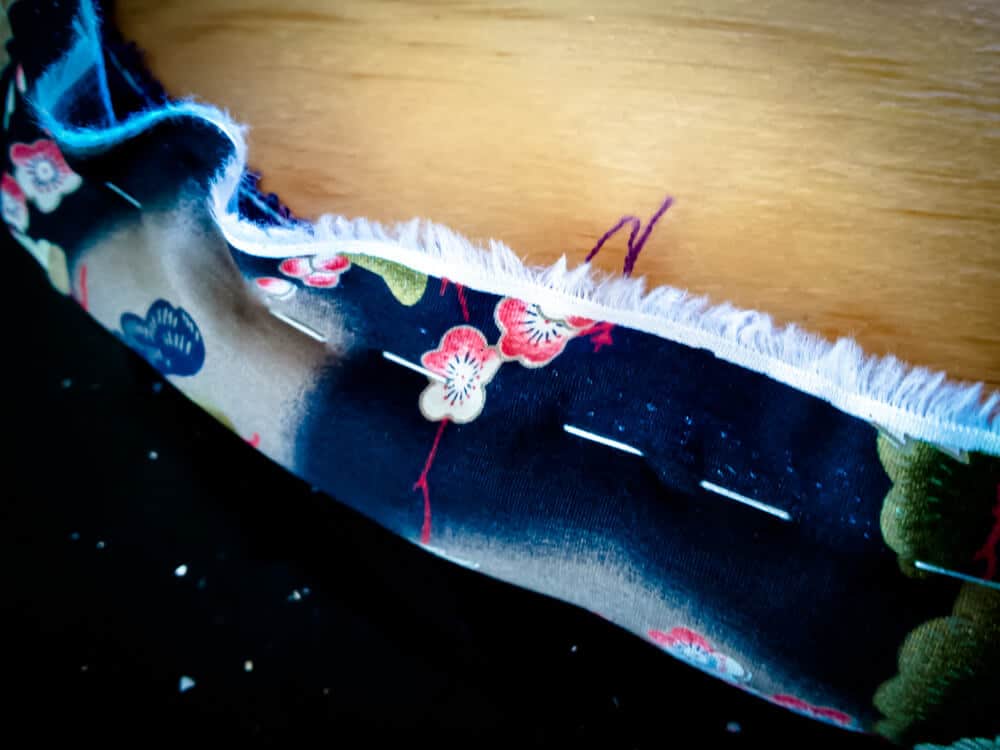
Next, cut a piece of the fabric to size and began stapling it to the cushion.
When finished stapling it looked like this
It was a little sharper than this in real life*
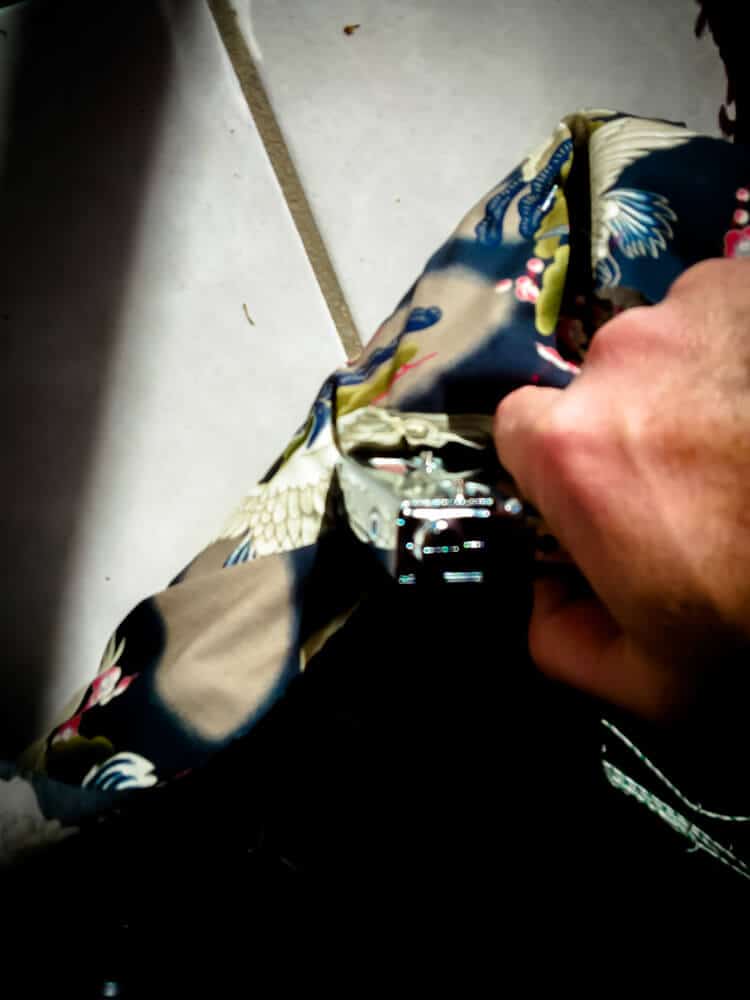
Then it was time to remove and tackle the seat cushion. This required the use of the afore-mentioned spanner I neglected to include in my tools photograph above...

Then, same process:
- Measure and cut a piece of fabric to fit the cushion with enough extra to reach up and over the base for stapling.
- If your fabric has a pattern that has a definite 'right way up', it's a good idea to check this before cutting the fabric!
- Pulling reasonably tightly, but not tightly enough to cause creasing in the fabric, begin stapling the fabric to the cushion base. I started along one edge and worked my way around.
- I found folding the fabric at the corners before stapling worked well.
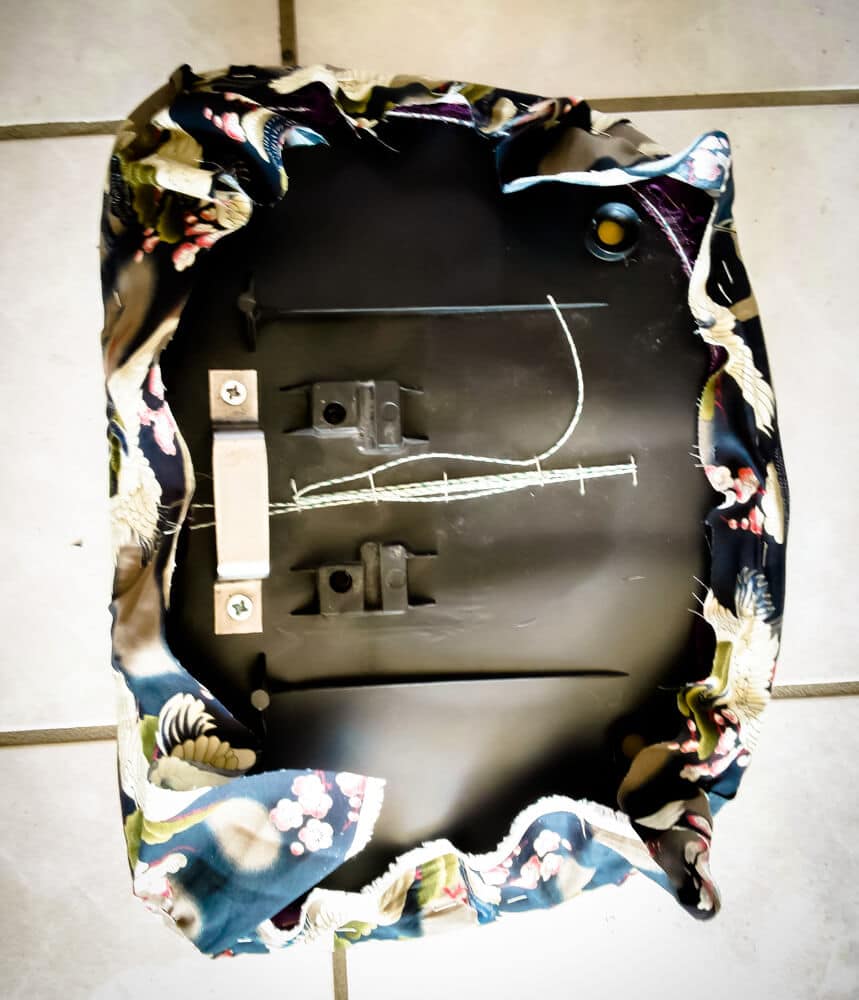
My stapling was lot neater on the seat cushion...
The finished seat cushion.
Replace the plastic casings for the cushions and reattach them to the chair.
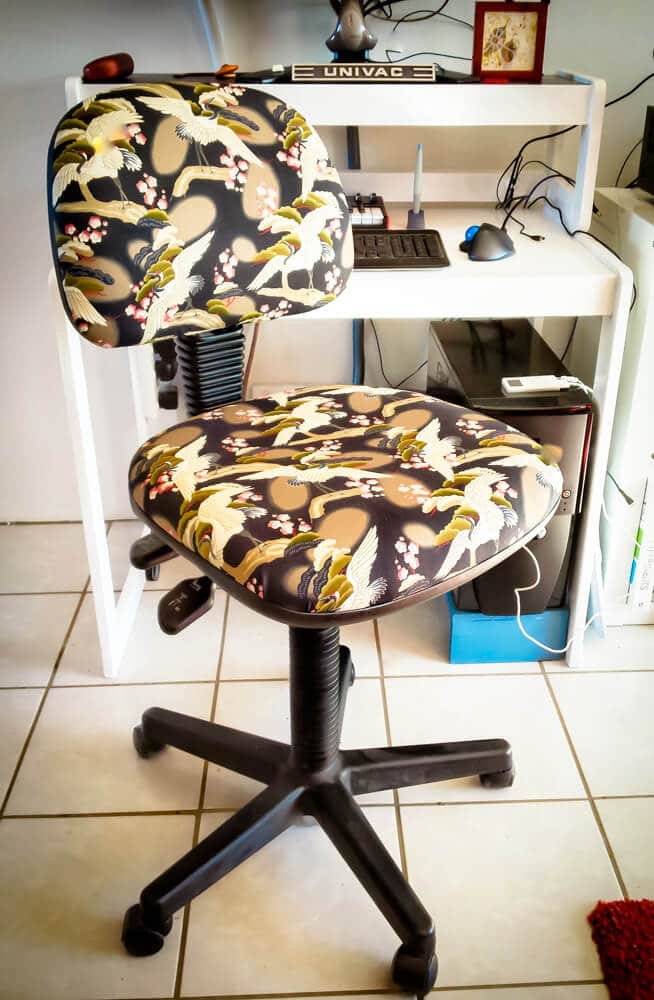
Voila! A reupholstered office chair.
The whole exercise took me less than an hour and $15 in materials ... cheaper than replacing the chair and it fits wonderfully with my decor.
Have you revamped a piece of furniture? Got pictures? I'd love to see them :-)
*with apologies for the crappy smartphoneography...
ps ... I feel I should also note that the print I chose features a pattern of cranes in various poses and not the camouflage print the thumbnail makes it out to be ;-)

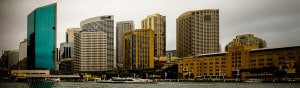


Sydney Lights
We went to Sydney last weekend. Ostensibly to see the beginning of the Vivid Festival but mostly to get some time away. We stayed in a place on McMahon's Point and the room had a panoramic view of the Harbour (from Luna Park, the Bridge and Opera House, through to the city and the ANZAC Bridge) I'd never seen such a view of the City before and to think this was the hotel room ... we spent a great deal of time in awe of the view and when we got tired of that ... there was always the 2015 Eurovision Final ;-) .
The Sydney Harbour Bridge was framed in thin, linear lights of splendid clarity and we could easily see the light show on the sails of the Sydney Opera House.
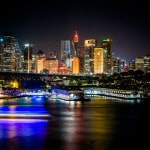
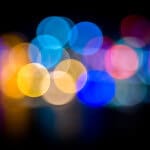
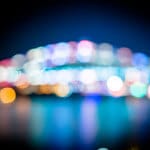


Thinking that there must be a million photos taken of the bridge I resolved to make mine a little different and play instead with bokeh Sydney lights. I particularly liked how the bridge is still utterly recognisable even though it's heavily blurred.
Wandering around Circular Quay on the second night was spectacular, particularly as trains were terminating at Wynyard Station and the roads down to the Quay were closed to traffic. It was glorious walking down the center of George Street with no cars. The thousands of other people there seemed to think so as well. Well done Vivid Sydney.
One of the other reasons we went to Sydney was to drop in and see my friend Gretchen's art exhibition at the Art Est Gallery in Leichhardt ... but there's a separate post coming about that :-)
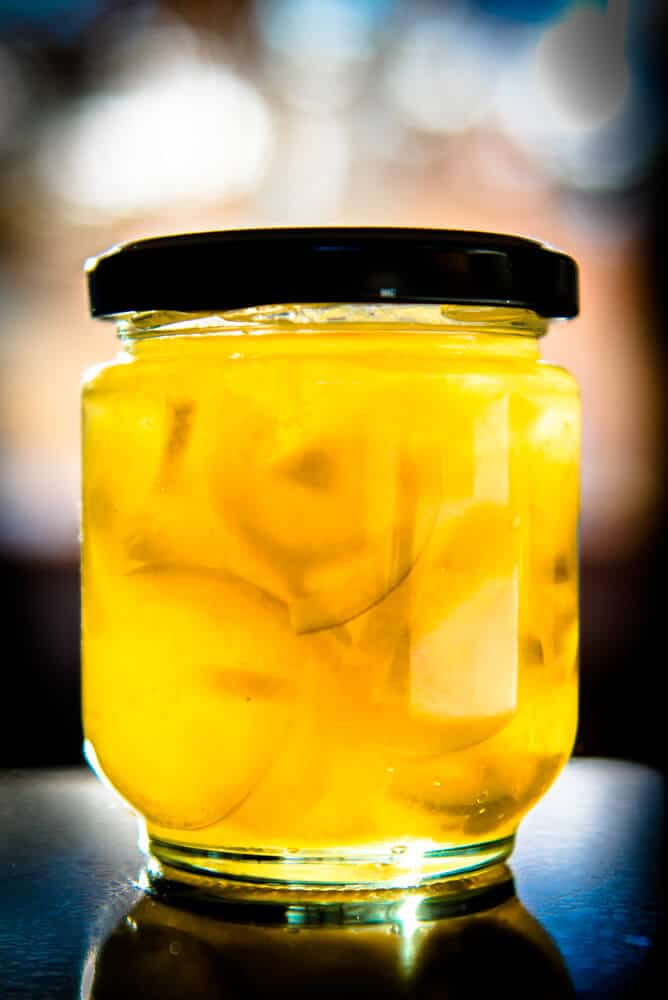
Lime Marmalade: Sunshine in a Jar
One of the advantages of working with folks who enjoy a bit of gardening is the seasonal produce brought into work when there's an overflow in production. Last week, John brought in a big bag of fresh limes ... mmm limes! ... and Lucy promptly took a small bagful and turned them into lime marmalade which she brought samples of into work a couple of days later. I adore lime marmalade ... to me it's like sunshine in a jar. Spread on hot buttered toast ... delicious! Tangy, clear, zesty and not too sweet. Well done Lucy :-)
I took this photo just before I cracked open my jar. I thought, as I was munching on fresh lime marmalade toast, that perhaps I should have included a fresh lime or two in the picture ... oh well, too late for that now I thought soonly thereafter ;-)

And, in case you wish to make your own sunshine in a jar here's the recipe :-)
Ingredients
- 1kg (about 11) Limes
- 2l (8 cups) Cold water
- 1.7kg Caster sugar
Method
- Halve and juice the limes, reserving lime halves. Place the juice in a glass jug. Cover with plastic wrap and store in the fridge. Trim the narrow end from each reserved lime half. Place in a large bowl. Cover with warm water. Soak for 6 hours or overnight to soften. Drain.
- Cut each lime half into quarters and thinly slice into 2mm-thick strips. Place the lime strips, lime juice and cold water in a heavy-based saucepan. Bring to boil over medium-high heat. Reduce heat to low. Cover and simmer for 50 minutes to 1 hour or until rind is tender.
- Add the sugar and cook, stirring, for 10-15 minutes or until the sugar dissolves. Increase heat to medium-high. Boil, stirring often, using a metal spoon to remove any scum that rises to the surface, for 45-55 minutes or until marmalade jells when tested (see note). Spoon into sterilised jars. Store in a cool, dry place or the fridge once opened.
Enjoy, I know I am! :-)

Assorted Landscapes
As part of my ongoing efforts to add content to my newly humming website (you have to imagine a happy humming here instead of the slow dirgey throaty song playing previously!) I have added a new gallery of images entitled, rather imaginatively, 'Land'. I would add that although there is indeed a landscape in each and every photograph in this collection I will confess up front to there often being a great deal of sky in them too. Anyways, please enjoy :-)


Website Blues
Oh I've been suffering the website blues ... for some months now (actually pretty much since I launched the new website!) the site has been been performing very poorly. By poorly I mean it took an inordinate amount of time to load and in some cases refused to display anything once it had loaded. I found this having a let's say 'detrimental' effect on my posting rate as I was constantly trying to improve the delivery of content rather than actually creating any! Thank you to all the people who took the time to let me know that they could not access the site and the blog! I mean what's the point of having a photography based website/business if no one can see your work!
I had tried optimising all my images, streamlining the code, caching plugins and even dabbled in some CDN (Content Delivery Network) action but nothing seemed to make it go faster. To cut a long story short I got in touch with the techs at my hosting provider (VentraIP) and asked if they could investigate this for me. They found some incorrect setting in my PHP version which, once corrected, made the delivery hum right along. A few more tweaks including updating the way my site caches content and delivers it has really increased my delivery speeds to a fraction of what they were before. Now that the site appears fully functional I have been inspired to update some of the image galleries and overall appearance parameters to make the site a more streamlined experience. Do please give it a go if you find yourself so inspired and let me know if it's not behaving itself! I will have strong words with it ;-P
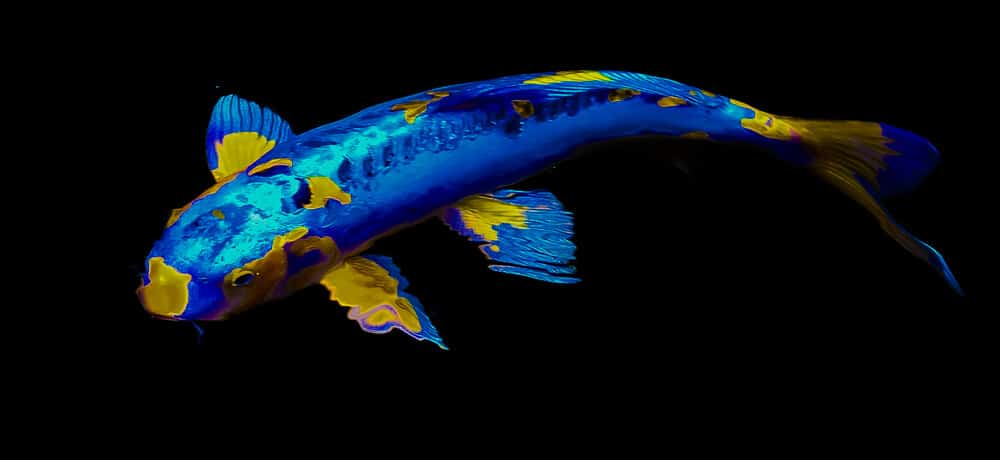
Website blues? Not as blue as this Koi I captured at Taronga Park Zoo in Sydney turned out ... but still it's a pretty picture ... so pretty I had it printed up large and it now hangs on my wall. I'm thinking of doing a series of them and getting RedBubble to make some cushions and tote baggy things for sale.


Powerful Owl
Possibly the most photographed bird in Canberra at the moment. This Powerful Owl (Ninox strenua) has taken up residence in nearby Turner. Luckily for us it was visible high up in the treetops when we passed by to catch a glimpse of it. These owls typically stand about 60cm tall with a wingspan of over 1.3m though it was hard to tell the exact measurements of this one. Their diet consists of a variety of possums (brushtail, ringtail and sugar gliders) large birds (cockatoos, corellas and rosells et al) This one had caught (and was in the process of shredding) a ringtail possum and you can see its black & white tail curling over the limb of the tree.


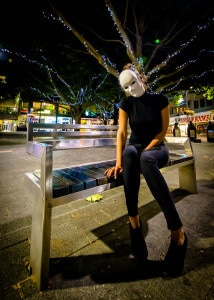
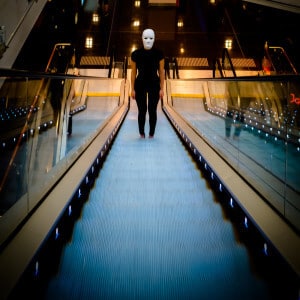
Masked
So we made this little movie ... an arthouse piece in a world that plainly isn't. In the movie, we're wearing masks ... well, in the latter stages we're wearing masks plural seeing as we had only one mask when we began filming and had to share it. It wasn't until I came across a supply of masks in Chapel Street in Melbourne over the final weekend that we were able to appear together both wearing masks. But that's an aside.
It's a strange feeling to be wearing masks in public, on the street, in coffee shops and shopping malls. Noone seemed to think it particularly odd, we didn't get asked to leave anywhere and anywhere people did look a little alarmed we just assured them we were "making a movie" and everything was fine! One thing I did notice though was that when I was masked, people I was flashing a reassuring smile to as they walked past or lingered couldn't actually see said reassuring smile; just some nodding weirdo in a mask.
I did take the opportunity to take some stills as we were shooting but likely nowhere near as many as I perhaps should have :-)
Here's a few.
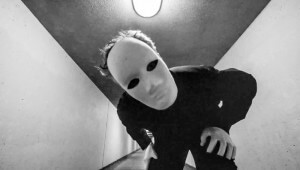
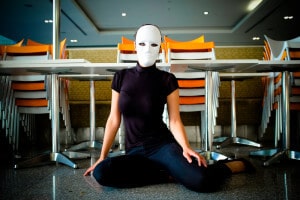
You can watch the movie here

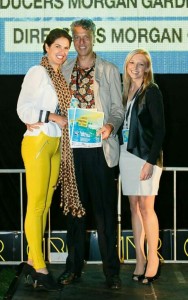
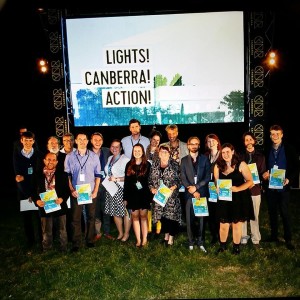
Lights, Canberra, Action!
Well, we didn't win any prizes at our inaugural LCA film festival ... but ... we did get our art piece This Too Shall Pass shown to a rather large crowd and people were coming up to us after the event and saying how much they enjoyed it and how good it was to see an Arthouse film make it into the finals ... so it went pretty well really. We're now planning our next film project and that's kinda exciting too :-)